Can I Replace a Broken Garage Door Spring Myself? Read This Before You Try
If you're wondering, "Can I replace a broken garage door spring myself?" the direct answer is no, it’s not recommended. Garage door springs are under extreme tension, and attempting a DIY replacement can result in severe injury or even fatal accidents. While some experienced DIYers may attempt it, for most homeowners and businesses, hiring a professional like Smart Garage Door is the safest and most effective solution.
However, if you still want to understand the process, risks, and potential costs, this comprehensive guide will walk you through everything you need to know.
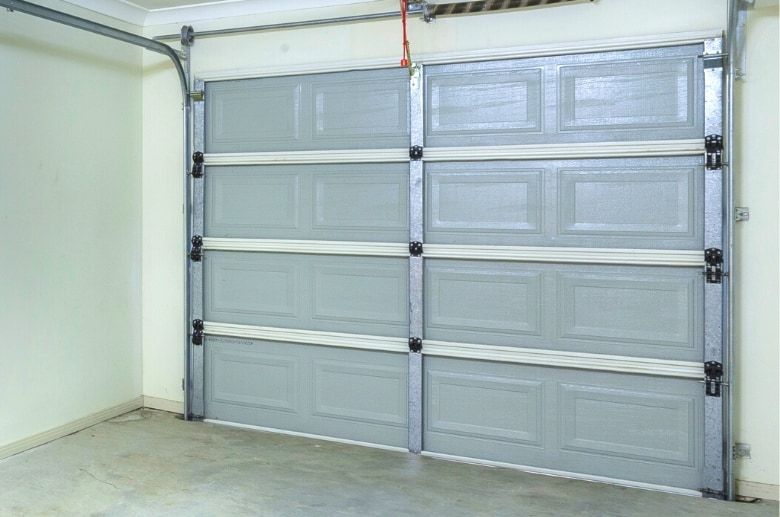
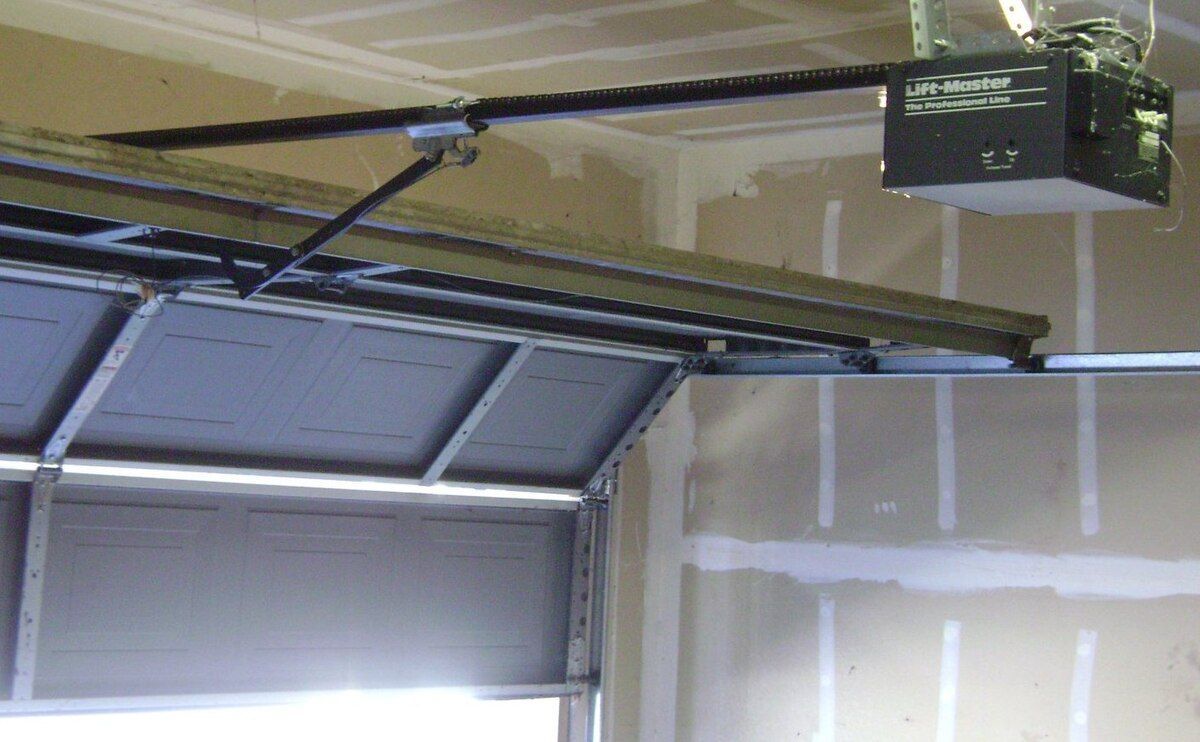
Understanding Garage Door Springs
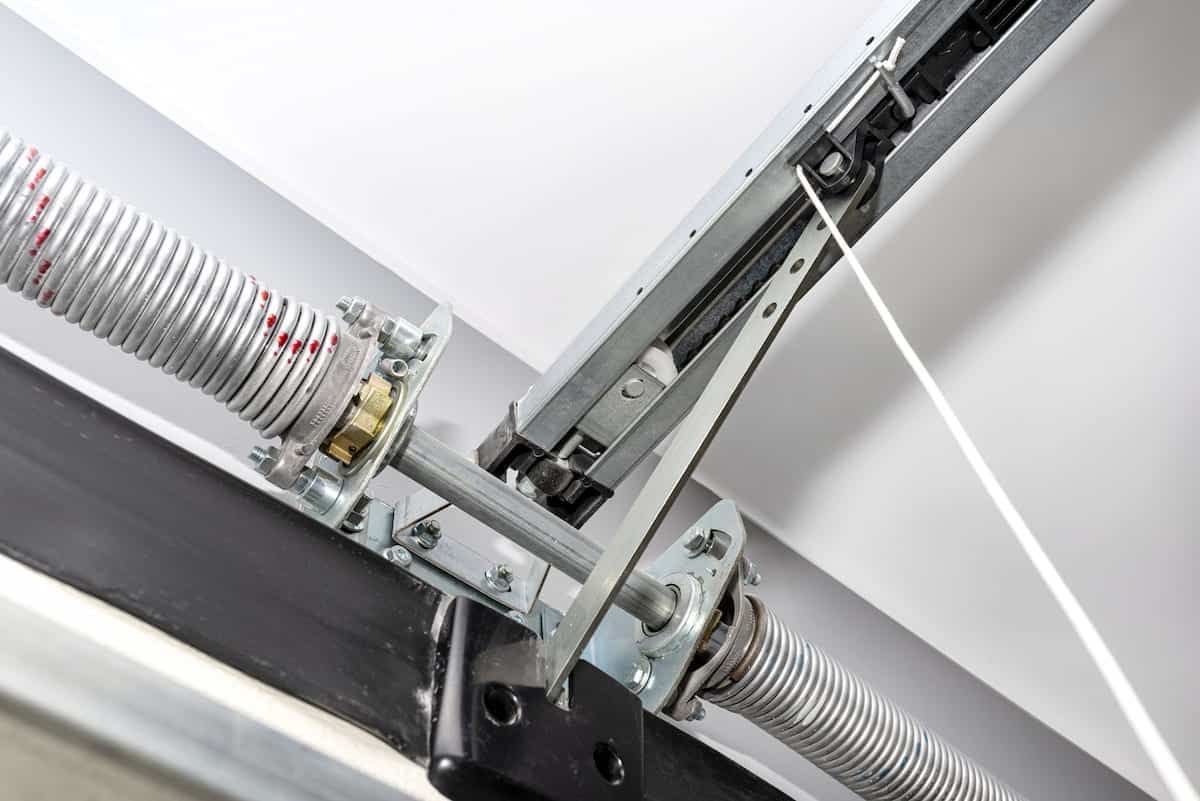
Garage door springs play a crucial role in lifting and lowering your garage door. There are two main types:
Torsion Springs vs. Extension Springs
- Torsion Springs – Located above the garage door, these are more durable, last longer, and provide smoother operation. They require precise tensioning for safe installation.
- Extension Springs – Found along the sides of the door, these are more affordable but tend to wear out faster and are prone to sudden snapping.
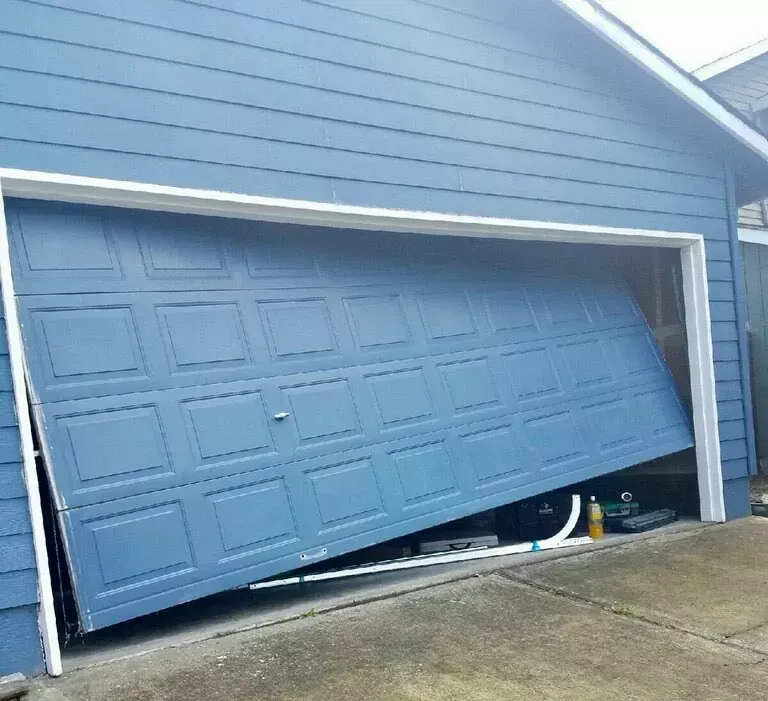
A broken spring means your garage door will be difficult or impossible to lift, potentially leaving you stranded.
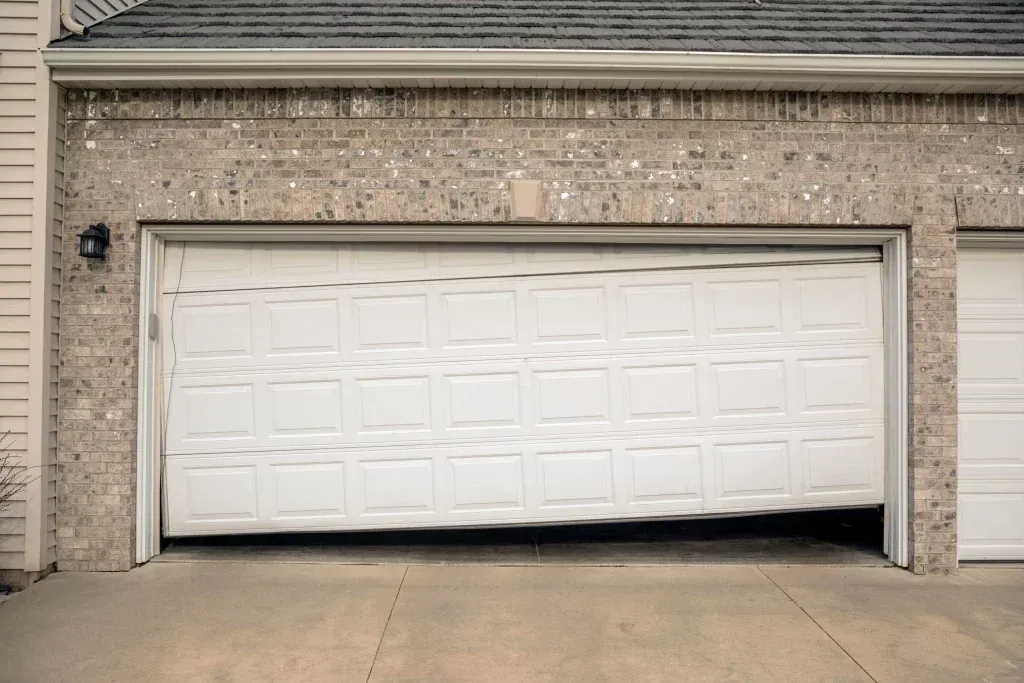
Signs of a Broken Garage Door Spring
Not sure if your garage door spring is broken? Here are some telltale signs:
- The door won’t open – If your opener struggles or won’t lift the door at all, the spring may be broken.
- Loud snapping noise – A sudden bang in your garage is often the sound of a spring breaking.
- Door closes too fast – A functioning spring controls the descent of your garage door. Without it, the door may slam shut.
- Gaps or deformities in the spring – If you notice a visible gap in the coil, it’s a clear indication the spring has snapped.
- Uneven movement – A broken spring can cause one side of the door to lift higher than the other, leading to misalignment. If your garage door is sagging or unbalanced, you may need an Uneven Garage Door Fix to prevent further damage.
Ignoring these signs can lead to more extensive damage, including a completely inoperable garage door.
The Dangers of DIY Garage Door Spring Replacement
Many DIYers attempt garage door repairs, but replacing a broken garage door spring is one of the most dangerous home repairs you can do. Here’s why:
- High tension risk – Springs store massive amounts of energy. One wrong move can result in serious injuries, including crushed fingers, deep lacerations, or even fatal accidents.
- Incorrect installation – Improper spring tension can lead to an unbalanced door, causing mechanical failures over time.
- Expensive mistakes – Using the wrong spring type or size can lead to further damage, requiring additional costly repairs.
- Warranty voiding – Many garage doors come with warranties that become void if unlicensed individuals perform repairs.
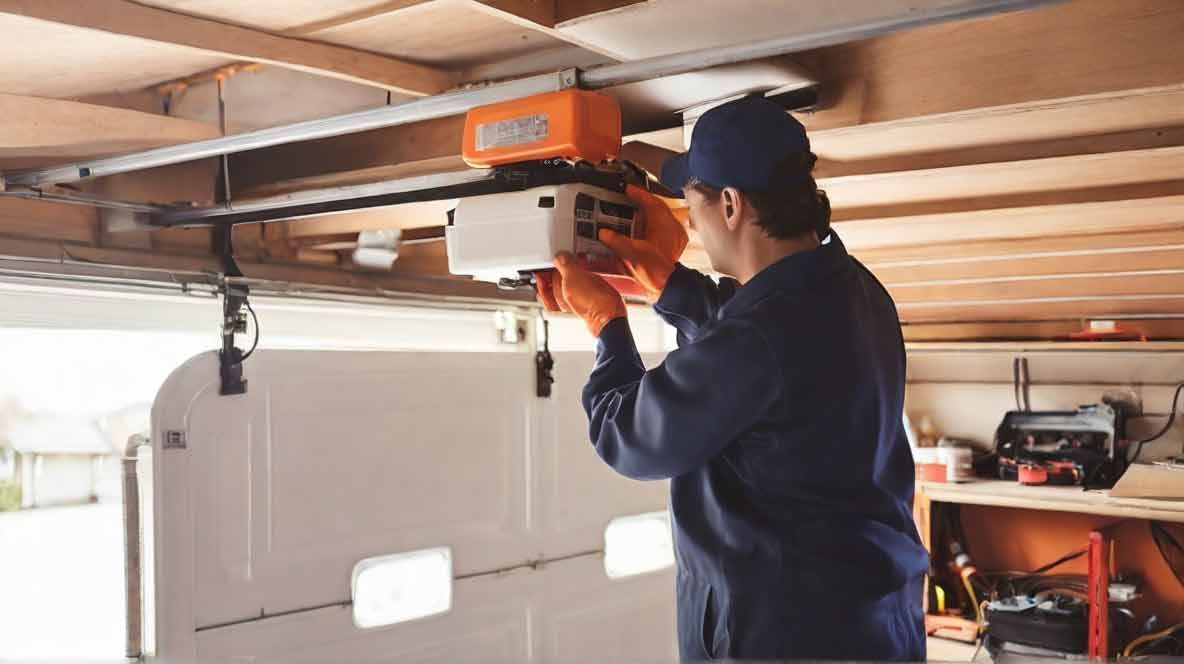
At Smart Garage Door, our technicians use professional-grade tools and follow strict safety procedures to ensure the job is done right the first time.
Step-by-Step Guide to Garage Door Spring Replacement
If you’re an experienced DIYer and still want to proceed, here’s a high-level overview of the process. (WARNING: Proceed at your own risk!)
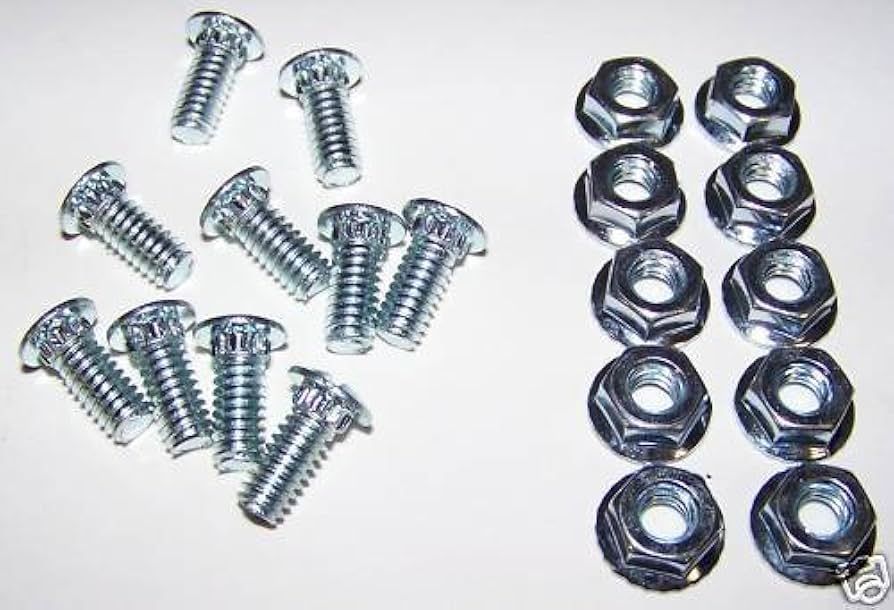
Tools You’ll Need
- Locking pliers
- Winding bars (never use a screwdriver!)
- Socket wrench set
- Safety gloves and goggles
- Replacement spring
Step 1: Disconnect the Garage Door Opener
This prevents accidental activation while working on the door.
Step 2: Secure the Garage Door
Clamp the tracks to prevent the door from moving unexpectedly.
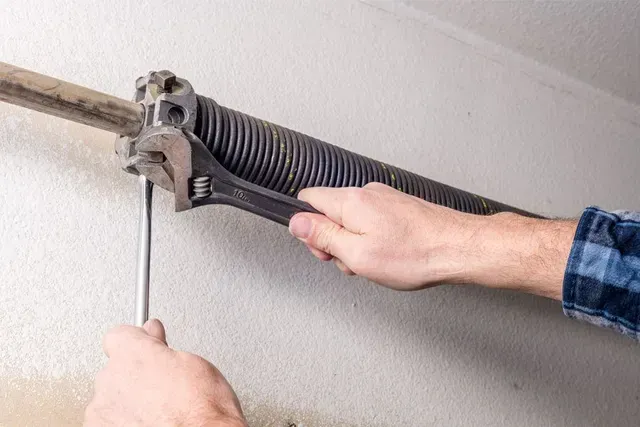
Step 3: Release Tension from the Broken Spring
Using winding bars, carefully release the tension from the torsion spring. Never use makeshift tools.
Step 4: Remove the Broken Spring
Unscrew the spring from the center bracket and slide it off the torsion bar.
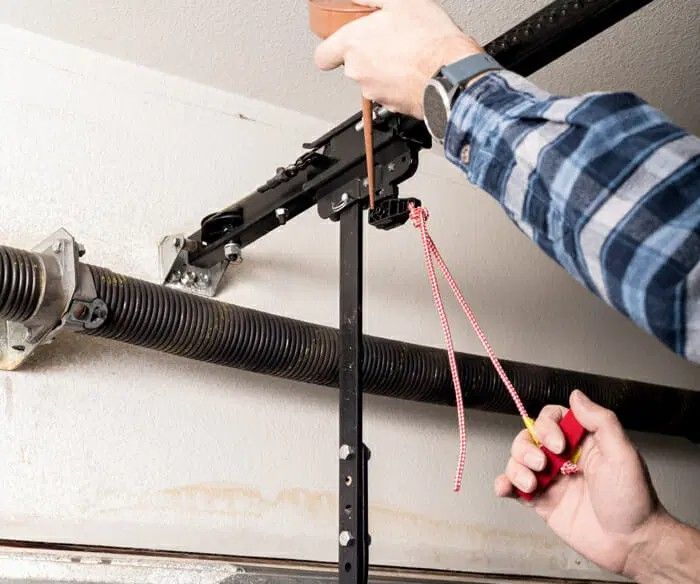
Step 5: Install the New Spring
Carefully slide the replacement spring onto the torsion bar and secure it with screws.
Step 6: Wind the New Spring
Using winding bars, apply the correct tension to the spring based on manufacturer specifications.
Step 7: Reconnect the Garage Door Opener and Test
Carefully remove clamps, reconnect the opener, and test the door’s balance.
Note: This is a simplified version of the process. A single mistake could lead to serious injuries or costly damages.
Professional vs. DIY Garage Door Spring Replacement: Cost Breakdown
If cost is a major factor in your decision, here’s what to expect:
| Service | DIY Replacement | Professional Repair (Smart Garage Door) |
|---|---|---|
| Parts (spring, tools) | $50 – $150 | Included in service |
| Time & labor | 3 – 5 hours | 1 – 2 hours |
| Risk factor | High | None |
| Warranty | None | 1-year parts & labor |
| Total Cost | $50 – $150 | $200 – $500 |
Hiring a professional may cost more upfront, but it ensures safety, quality, and long-term reliability.
Preventive Maintenance Tips for Garage Door Springs
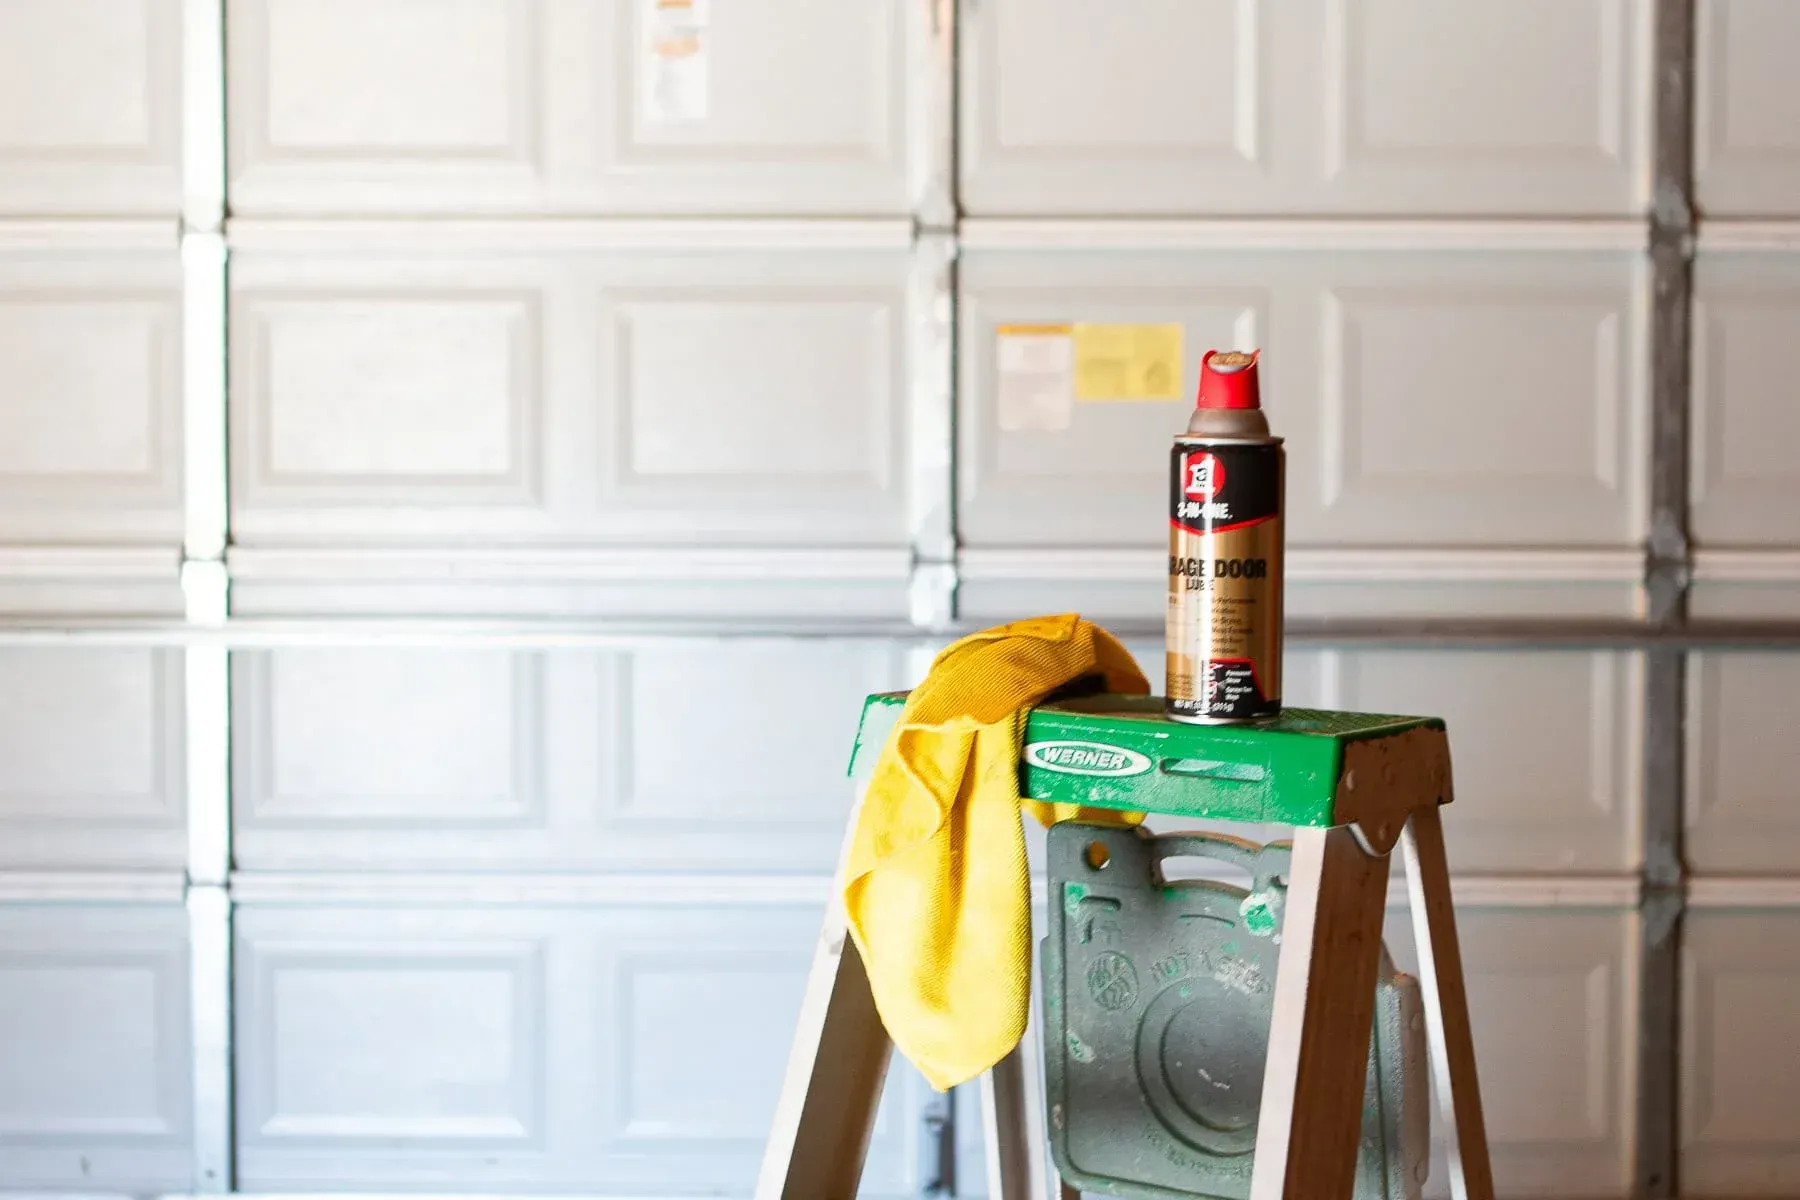
To extend the lifespan of your garage door springs, follow these tips:
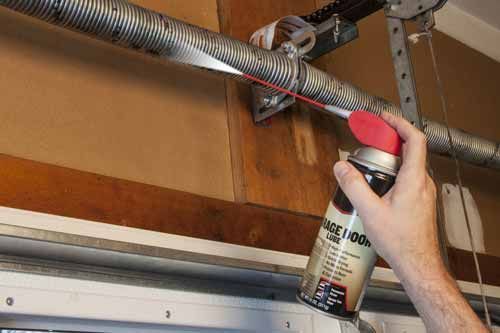
- Lubricate the springs every 6 months with a silicone-based spray.
- Check for rust and clean the springs with a cloth.
- Balance the door by manually lifting it halfway. If it moves up or down, spring tension may need adjustment.
- Schedule an annual inspection with a professional to catch early signs of wear.
- Learn more about Garage Door Spring Lifespan & Replacement Signs to recognize when it’s time for a replacement.
Proper maintenance can help prevent unexpected failures and costly repairs.
FAQs About Garage Door Spring Replacement
How long does it take to replace a garage door spring?
A professional can complete the job in 1 to 2 hours. A DIY attempt may take several hours or an entire day.
Can I replace just one garage door spring?
It’s recommended to replace both springs (if applicable) to maintain balance and prevent future failures.
What happens if I install the wrong size spring?
Using an incorrect spring can lead to door imbalance, excessive strain on the opener, and premature wear.
How do I know if my garage door spring is too tight or too loose?
A properly balanced door should stay in place when lifted halfway. If it moves up or down, tension needs adjustment.
Final Thoughts: Should You Replace a Broken Garage Door Spring Yourself?
While a skilled DIYer might be able to replace a garage door spring, the risks far outweigh the benefits for most people. The safest and smartest option is to call a professional.
At
Smart Garage Door, we provide
fast, reliable, and safe garage door spring replacement services to ensure your garage door operates smoothly and securely. Don’t put your safety at risk—contact us today for a professional repair!